From Overdue Rent to Delivered Notice: LeaseShield's 3-Step Eviction Process
For most landlords and property managers, the hardest part of an eviction isn't the eviction itself — it's the paperwork that has to happen first. Before any court will hear a case, you need a correctly drafted, state-compliant notice that's delivered the right way and documented properly. Miss a step, and you could be starting the clock all over again.
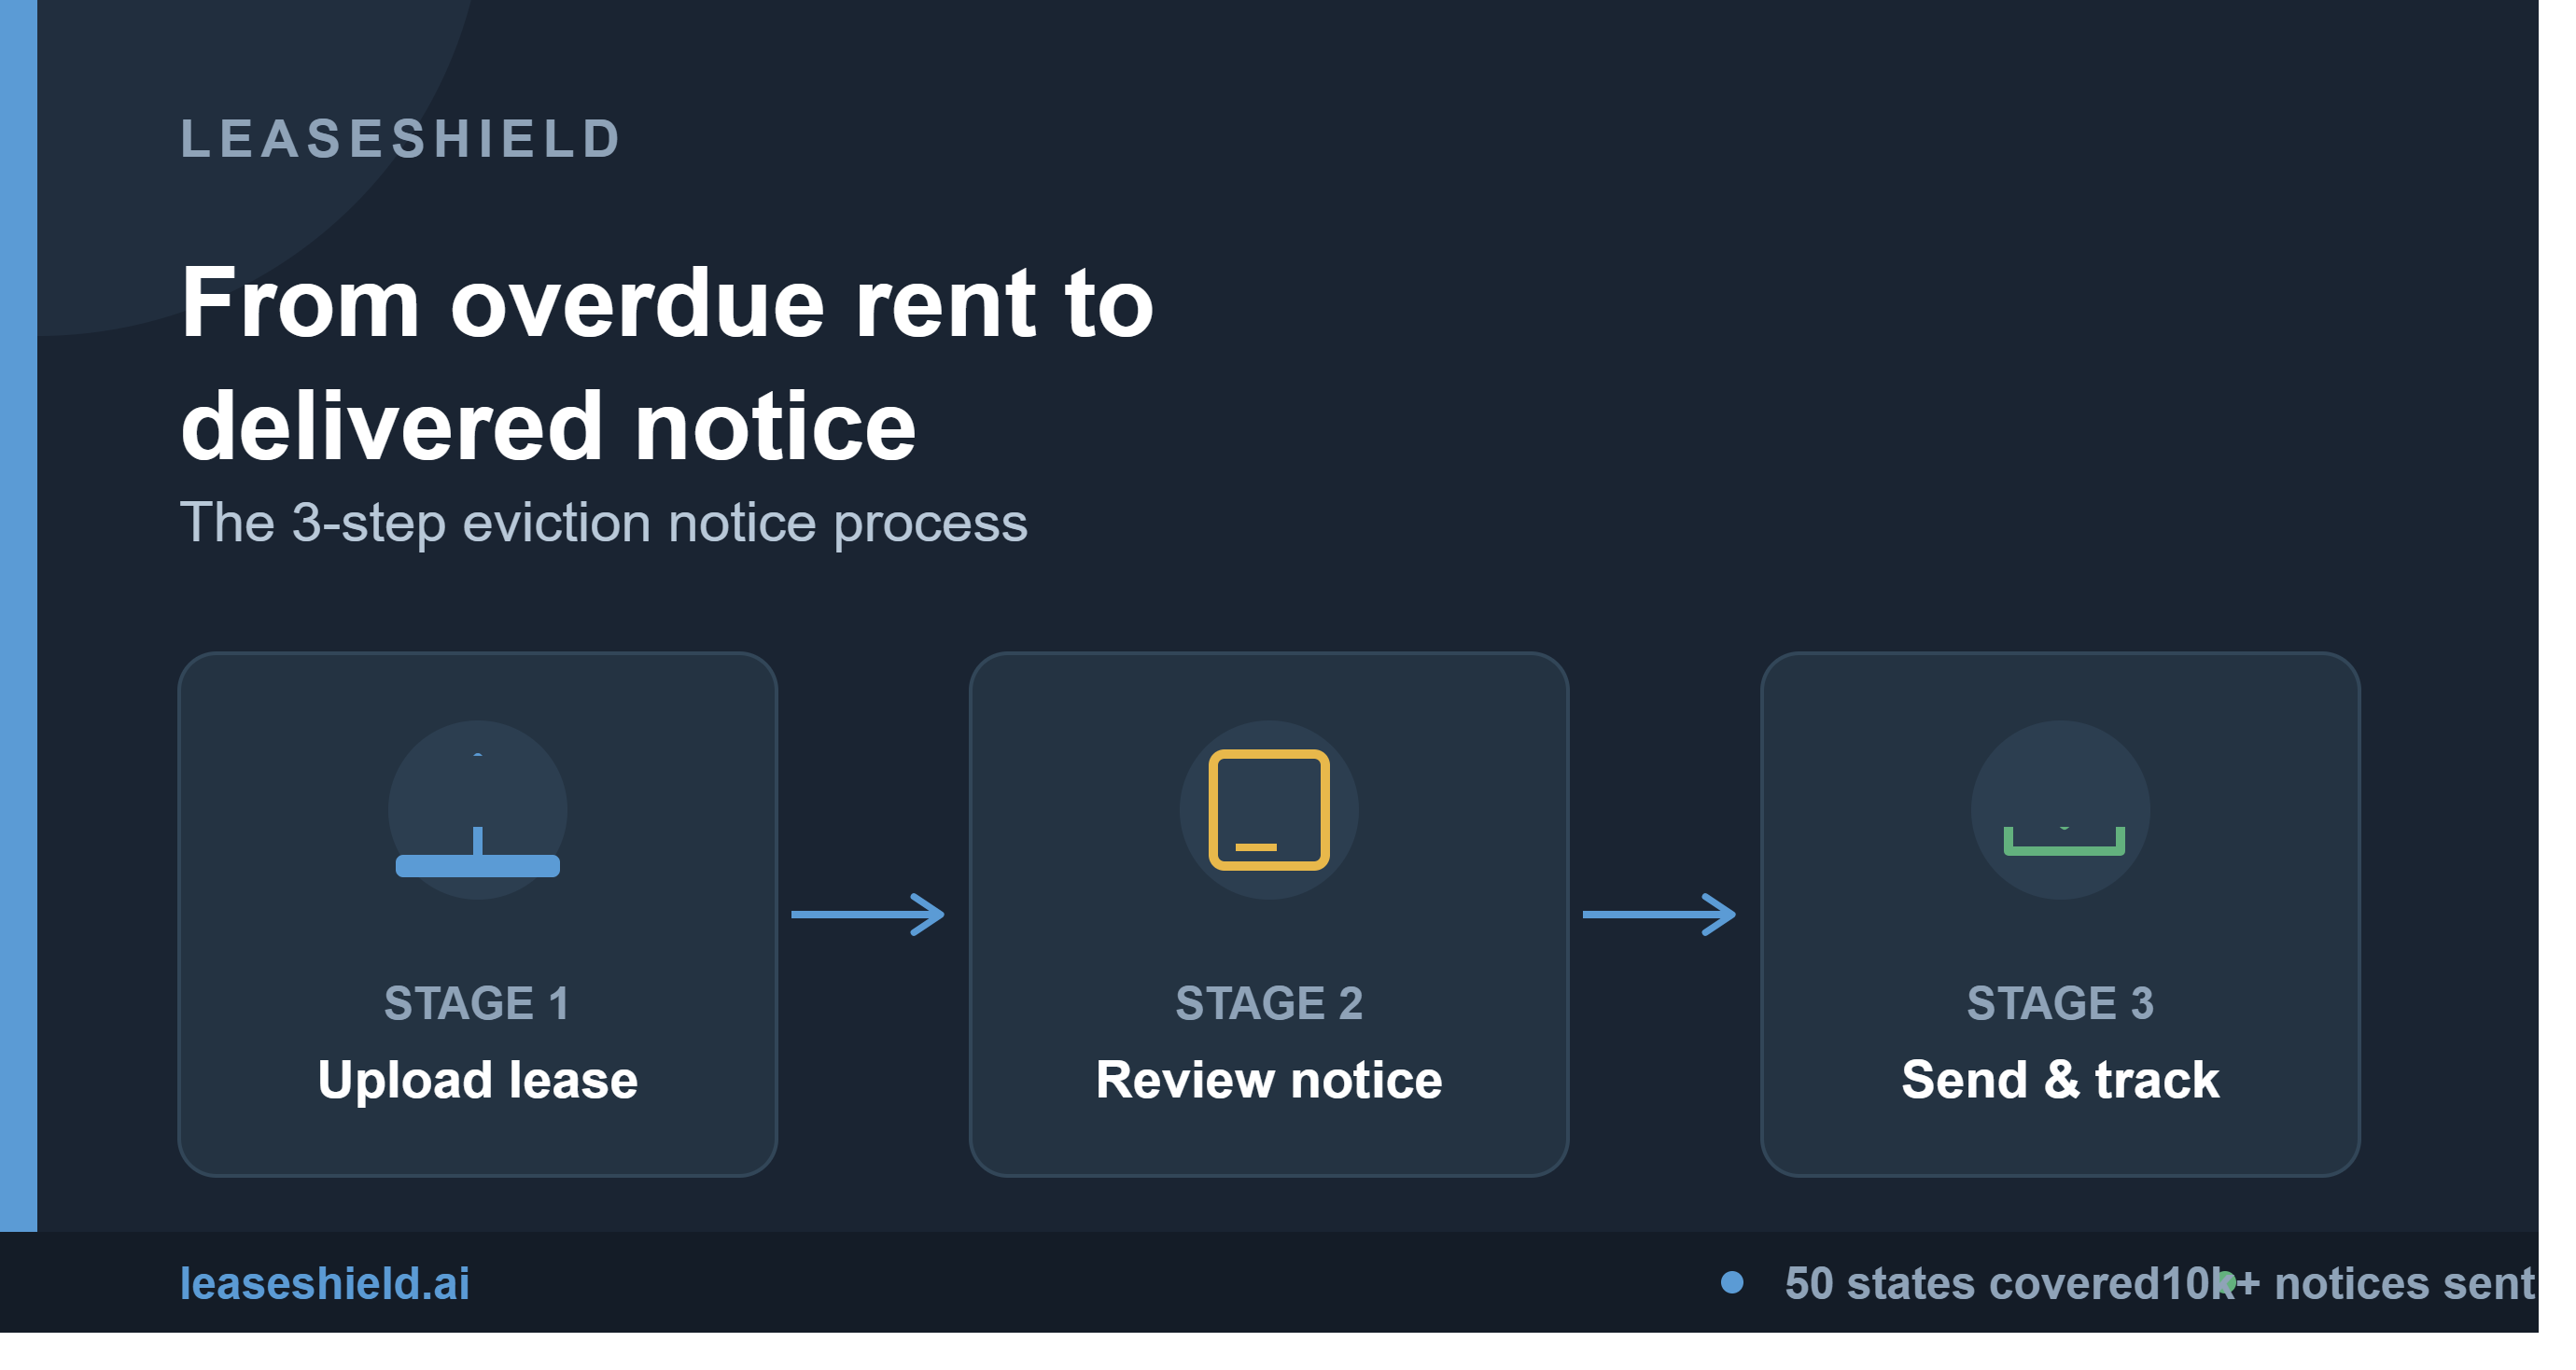
LeaseShield was built to simplify that first, critical phase into three straightforward stages: upload, review, and send. Here's how each one works, and why it matters.
Stage 1: Upload Your Lease
Every eviction notice starts with the same basic details: the tenant's name, the property address, and the terms of the lease that's been violated. Normally, that means digging through a filing cabinet or a folder of PDFs and retyping information by hand — a small task that adds up fast when you're managing multiple units.
With LeaseShield, you simply upload the lease document. The platform automatically extracts the tenant name, property address, and other key details, so you're not starting from a blank form. If you'd rather enter the information manually — for a lease that isn't digitized, for example — that option is available too.
Why this stage matters: Court filings are often rejected over small clerical errors, like a misspelled tenant name or an outdated address. Pulling details directly from the lease reduces that risk from the very first step.
Stage 2: Review Your Notice
This is where LeaseShield does the heavy lifting that used to require legal research. Based on the property's state, the platform generates the correct notice type and the correct notice period automatically — a 3-Day Notice to Pay or Quit in Florida, a 14-Day Rent Demand in New York, a 10-Day Notice to Quit in Pennsylvania, and so on.
Nothing is sent automatically. You review every detail — the amount owed, the deadline, the tenant and property information — before anything goes out. This gives you a chance to catch anything that looks off, and confirm the notice reflects your situation accurately.
Why this stage matters: This is the step where most manual eviction notices go wrong. Using the wrong notice type, the wrong deadline, or missing required disclosures can get a notice thrown out in court, forcing you to restart the process from day one. Generating the notice against current state rules, and reviewing it before sending, closes that gap.
Stage 3: Send and Track Delivery
Once you're satisfied with the notice, LeaseShield gives you a few ways to deliver it: download it for personal delivery, send it by certified email, or send it by certified mail through USPS. Whichever method you choose, delivery is tracked in real time.
This matters because most states require proof that the tenant actually received the notice — not just that you sent it. If a case later goes to court, you may need to show exactly when and how the notice was delivered.
Why this stage matters: A notice with no proof of delivery is a weak notice. If a tenant disputes ever receiving it, and you have no documentation, your case can stall right at the starting line. Certified delivery with tracking gives you a record you can point to.
What Happens After These 3 Stages
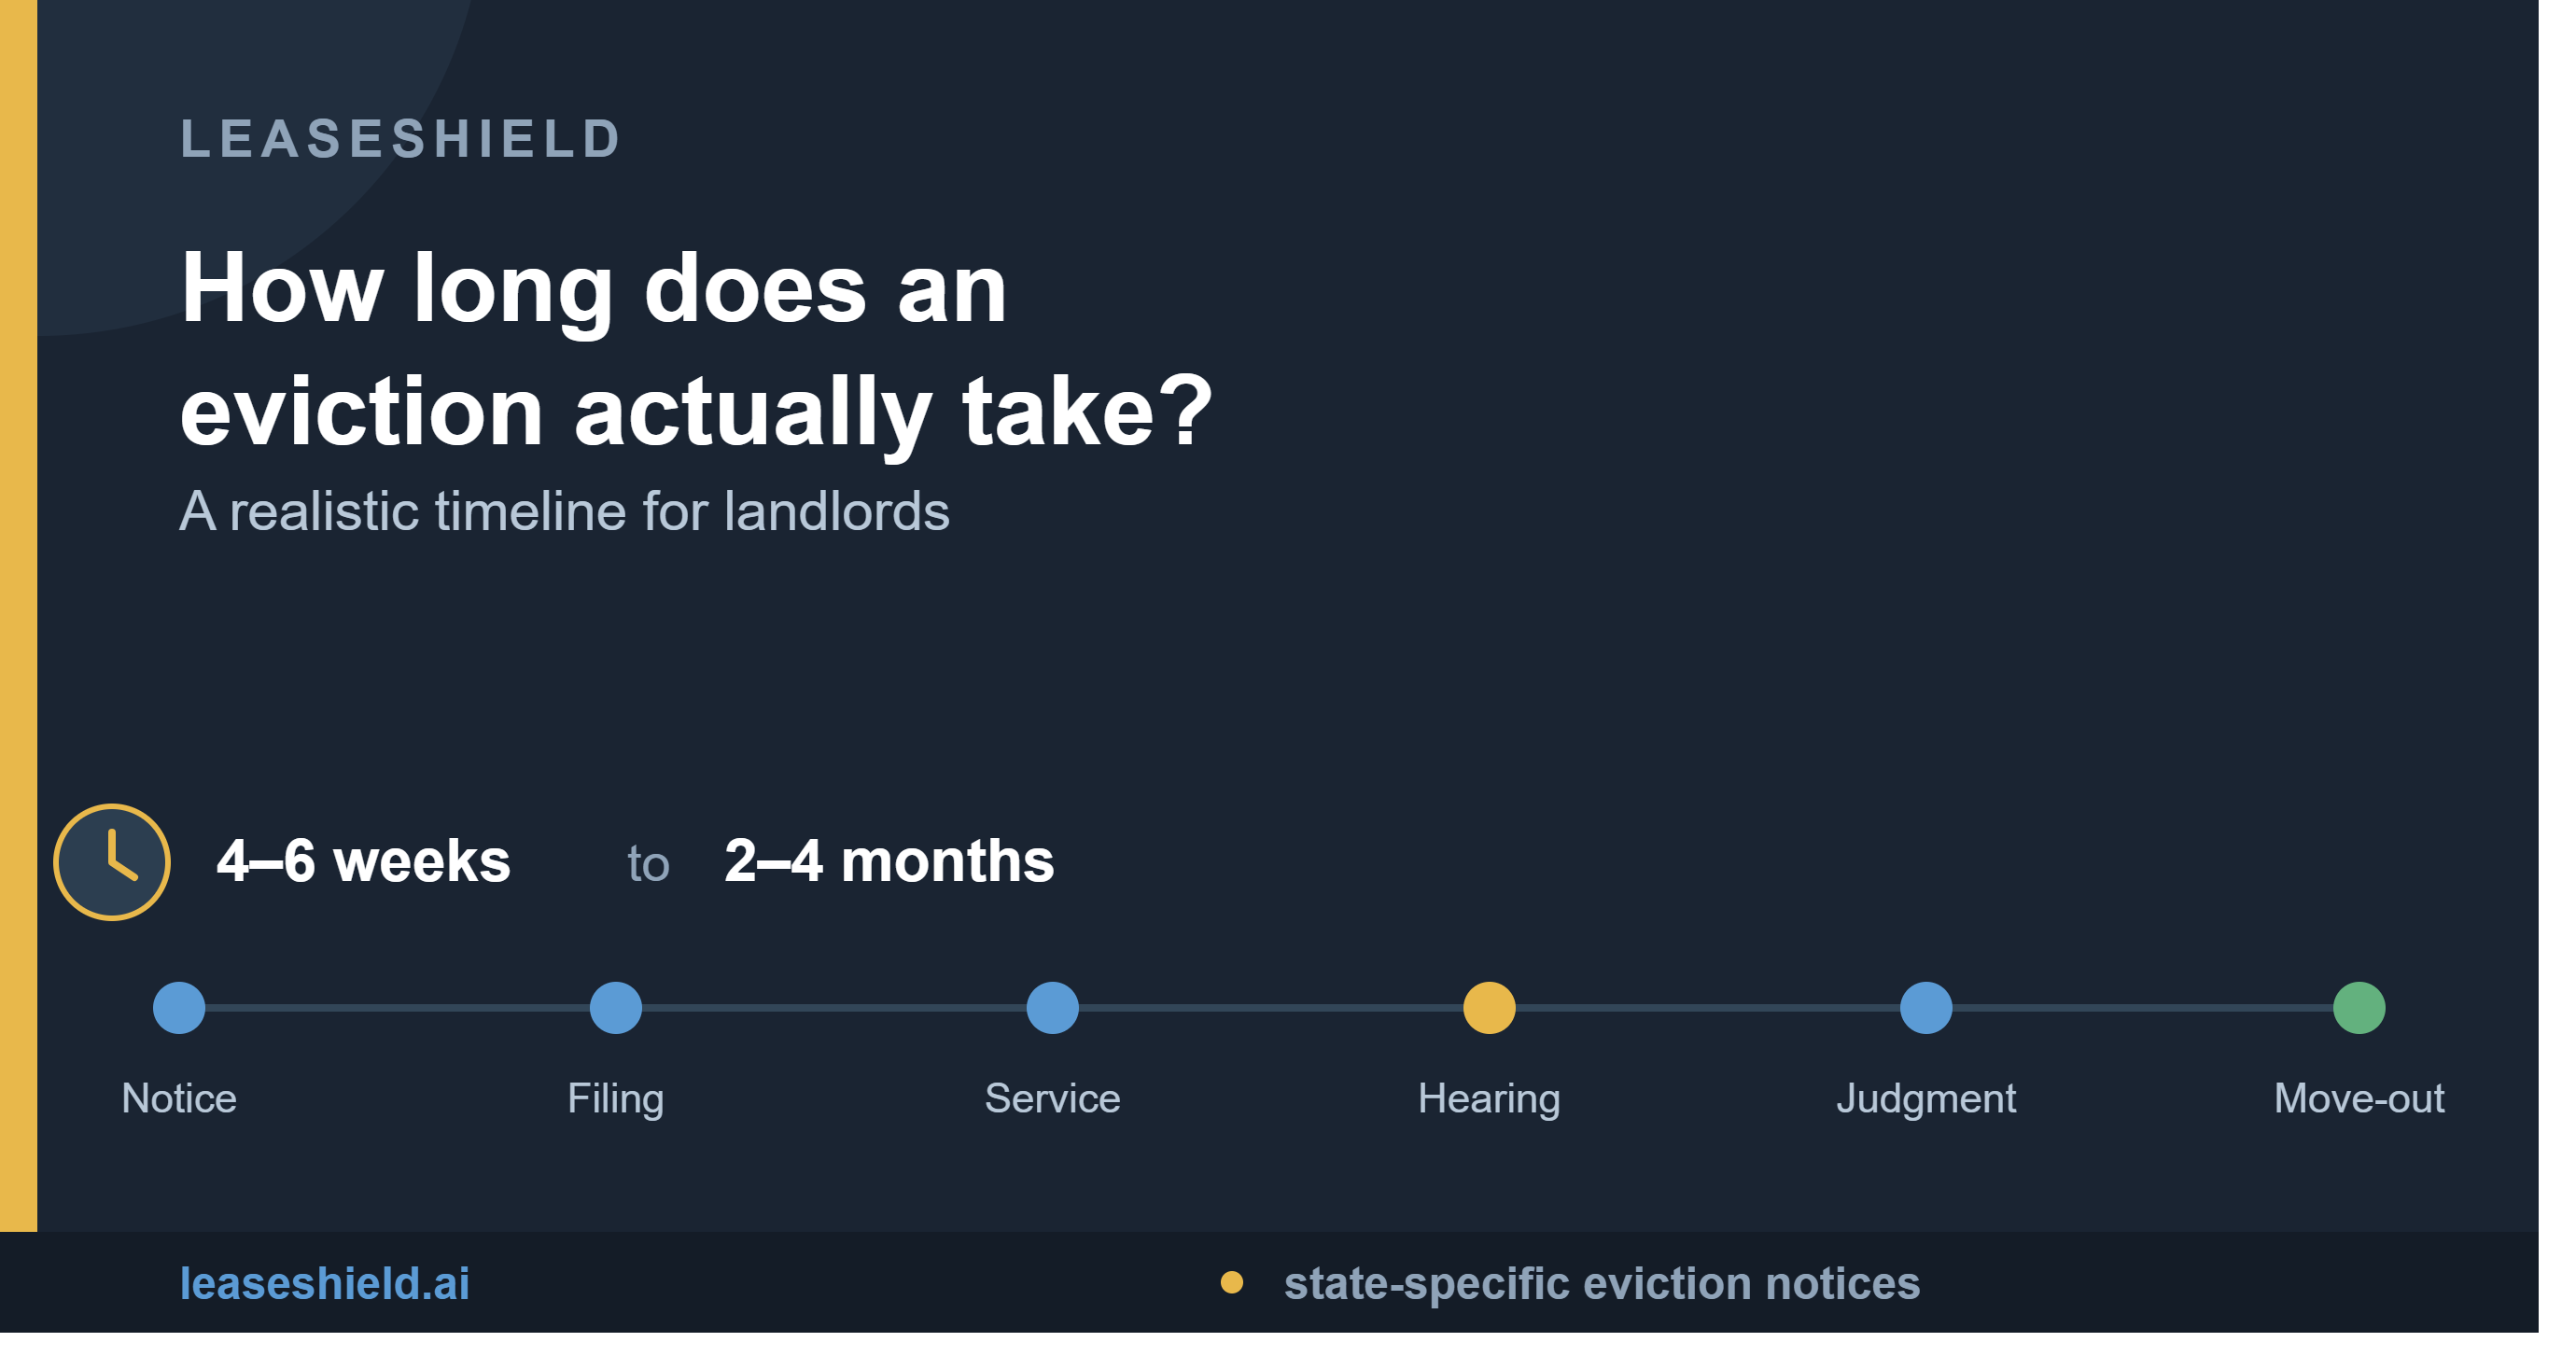
Once the notice is delivered, the tenant's response window begins — the exact number of days depends on the property's state. During that time, they can pay overdue rent, correct a lease violation, or vacate the property. If they don't respond within the deadline, you can move forward with filing an eviction case in court, with LeaseShield's records of delivery and timing on hand to support your filing.
For property managers handling multiple units, LeaseShield also supports portfolio tracking, bulk notice generation via CSV upload, and team access with role-based permissions — so the same three-stage process scales whether you're managing one property or dozens.
The Bottom Line
Eviction cases are won or lost on details: the right notice, the right timeline, the right proof of delivery. LeaseShield's three-stage process — upload, review, send — is designed to get each of those details right the first time, so you can move forward with confidence instead of second-guessing the paperwork.
LeaseShield is a document preparation and delivery platform, not a law firm, and does not provide legal advice. Eviction laws vary by state and locality — consult a licensed attorney for guidance specific to your situation.